29 August 2015
With Wen
A fantastic adventure with awesome company on a neat little mountain not far from Calgary. We decided at the last minute to get out and do something this Saturday – and it was sooo worth it! Despite a relatively late start at the trailhead (1145 am), we made quick progress on Little Elbow Trail with our mountain bikes although it took Wen a while to get used to cycling again after a long break! We were faced with the first crux of the day at the crossing over the Little Elbow River where the big blue bridge had been washed out by the floods of 2013. Having gone waded through the painfully cold water barefoot a few weeks ago already when I did Mount Romulus, I knew exactly what to expect and was able to get it over and done with fairly quickly. For Wen , this was a new experience! Crossing a knee-deep river about 8 m wide with your bare feet while pushing a bicycle was definitely a challenge – but she didn’t even blink an eye and just went for it and shoved that bike in the water… she was almost through on the other side when the current suddenly got stronger in one slightly deeper bit, pushing her bike away from her. I ran back in the water and dragged the bike off her, but by now the water had numbed her feet so much that she was temporarily paralyzed, unable to move forward. It took some cheering up and a bit of laying down her options (“you can stay in the water and get even colder, or you can just jump out the last few metres and reach dry land again!”), and she quickly realized that she just had to shake off her fear and keep going to get herself out of this dilemma. I have to say it was definitely quite painful, not just because of the cold water, but because of all the sharp rocks that made the pain so much worse. (On the way back she made the smart decision of crossing the river with her boots on.) After drying up and putting our boots back on we had to cycle another few km to the point along the trail opposite the ascent valley leading up to Mount Remus. We stashed our bikes and crossed the river once again, which at this point consisted of a series of braided channels in a wide floodplain. One of the channels necessitated taking off our shoes again, but this time it was shorter and shallower. Finally we were able to start the ascent, first through light forest (no bushwhacking at all, thank god!), then along a decent trail on rubbly slopes on the east side of the valley. The trail ended in a huge slide of brown shale coming down from the main ridge. We followed this shale slope all the way up and I was surprised how good the footing was – no treadmill scree here. The sunny weather that had greeted us at the start of our trip had changed to grey clouds and the occasional drops of rain by now… and it looked like it was going to get worse. A bit concerned by the threat of impending rain showers, we hurried along the ridge over a minor intervening bump to the summit block of Mount Remus.
The landscape was rough and rugged looking and the views in the ever changing light with sun and clouds mixing were truly amazing.
The slog up loose scree to the final vertical cliff guarding the summit was quite unpleasant, but thankfully didn’t last very long. We were now faced with the chimney that Kane rates as “difficult” in his book. I went up about three quarters of the way and agree with the difficult rating: good solid holds, but narrow and a bit awkward with a few large steps to take. Definitely easier for tall people with a good reach. Fortunately, there was a second, easier option directly to the left of the chimney: a narrow gully that extended over some 10-15 m with excellent holds but noticeable exposure. I’d still rate this as difficult, but it’s easier to break down than the chimney in my opinion (and I’m surprised it’s not mentioned in Kane’s book). Wen took her time and had no problems whatsoever coming up this gully (the funny thing is – she felt it was even easier on the way down!). The summit was now only 5 minutes away, but it was so windy and cold, we didn’t linger much. A quick glance at the impressive Mount Romulus and some summit snapshots, then we were off again. We carefully descended the crux section again and took a short break, just in time before an ugly rainstorm mixed with hard-hitting hail pounded us from all sides and made us run down the ridge as fast as we could… The scree skiing down the massive brown shale slopes was really fun and super-fast. By the time we were back down in the valley the rain stopped and the sun came out again, warming us up on our way back to the car. The river crossings were slightly easier on the way back, but I think next time I’m definitely bringing a pair of old runners to ease the pain on my feet!
This was a really enjoyable adventure that made us feel both comfortably close to nature and uncomfortably in awe of the raw force of the elements at the same time.


Route map
DISCLAIMER: Use at your own risk for general guidance only! Do not follow this GPX track blindly but use your own judgement in assessing terrain and choosing the safest route.

A fun start to this trip is the initial bike ride. Riding the initial 10 km cuts down on time and the old road is perfect for biking.
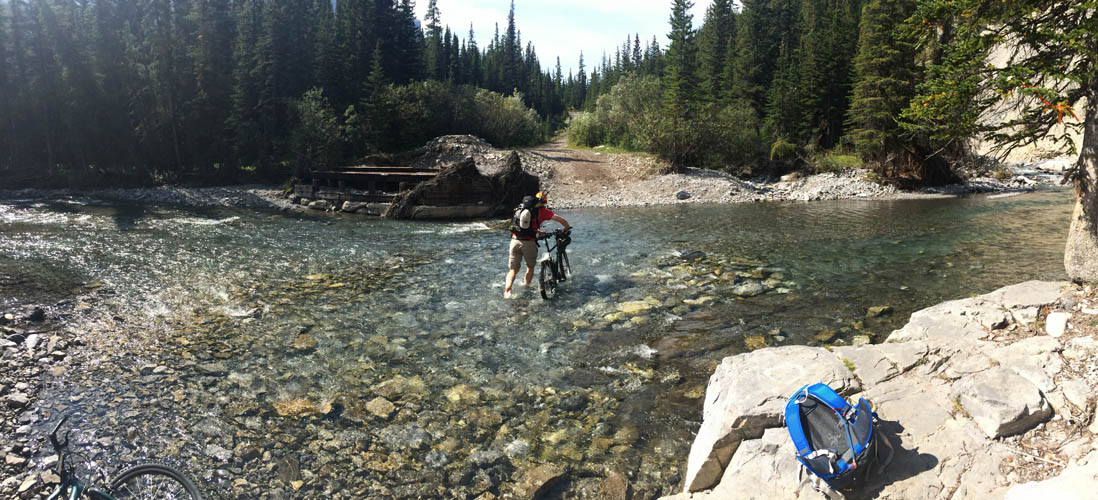
The “big blue bridge” over the Elbow River is out – time to wade through the chilly water. No better way to wake up in the morning!
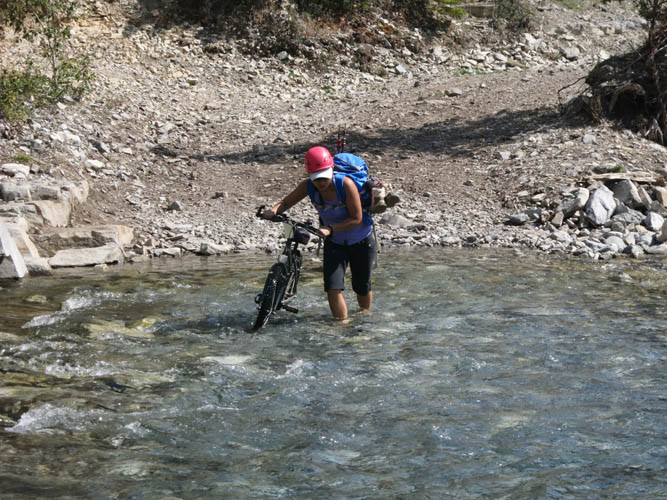
Wen’s turn to brace the cold.
This is where we stashed our bikes and crossed the river a second time. The route then loops around the treed hump and behind it to the right up a small valley.
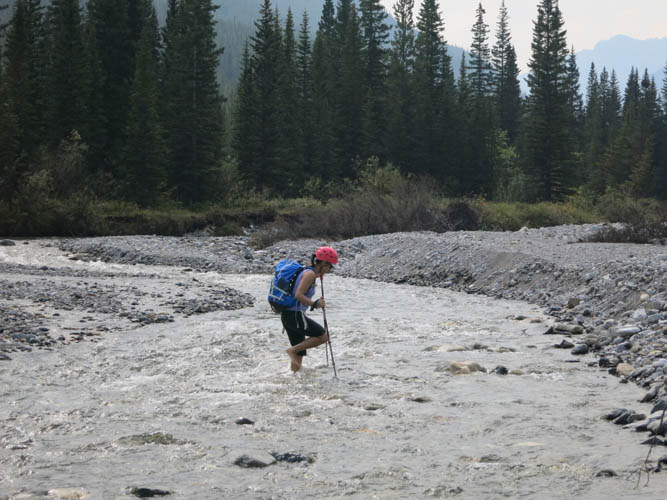
The second crossing is just as chilly! Bring old hiking boots to make it less painful and faster.

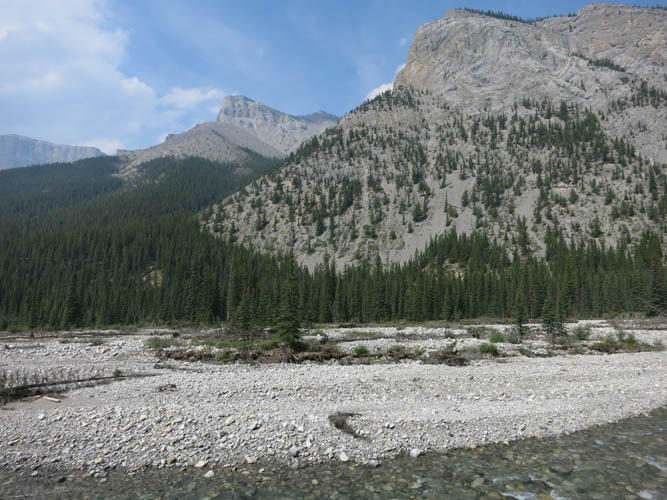
There is a decent trail on climber’s right side of the small valley that we initially ascended.
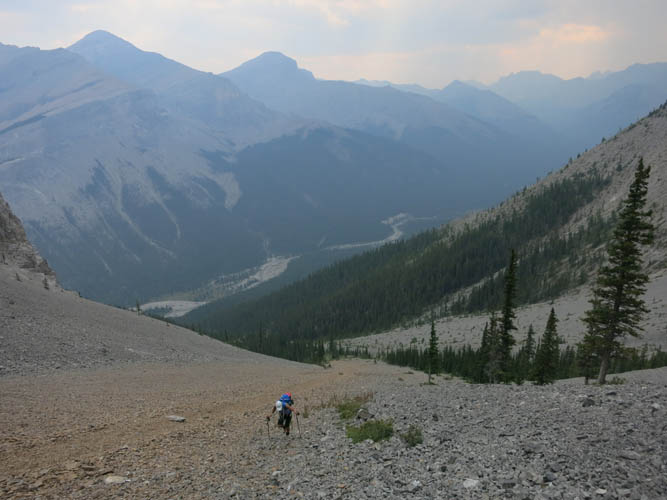
Higher up in the valley, a huge scree slope appears that seems to be never-ending… It’s a toil on the way up, but a blast on the way down!
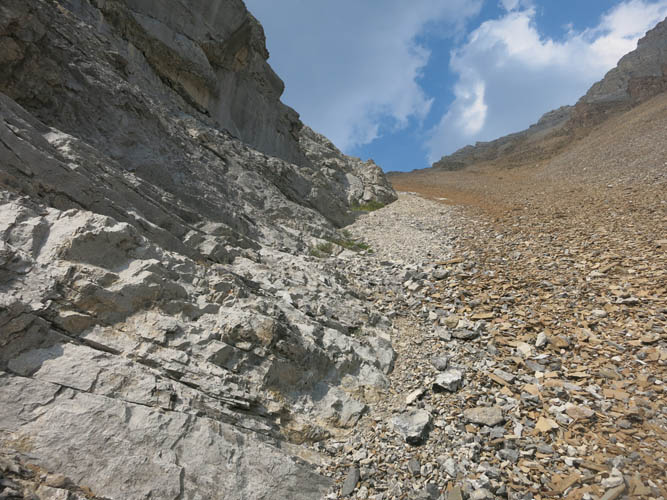
When cliffbands and scree are juxtaposed, it’s always easier to stick to solid rock on the way up.
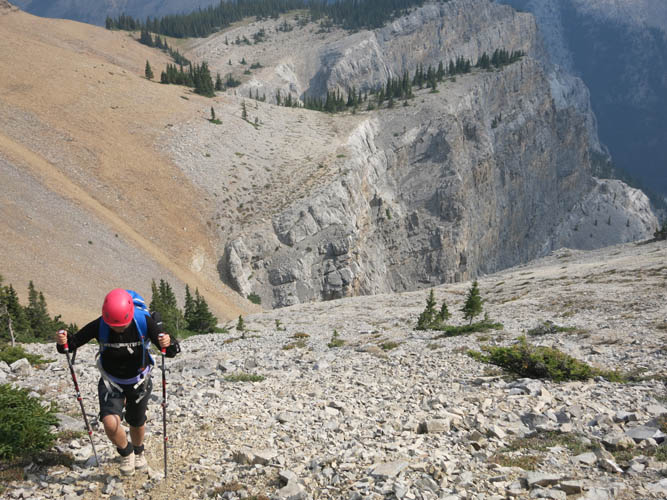
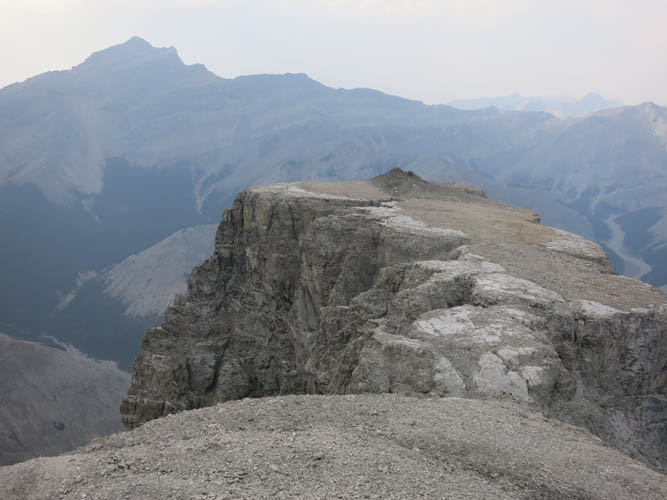
Finally leaving the big scree slope behind us as we gain the main ridge.
On the ridge, looking back.
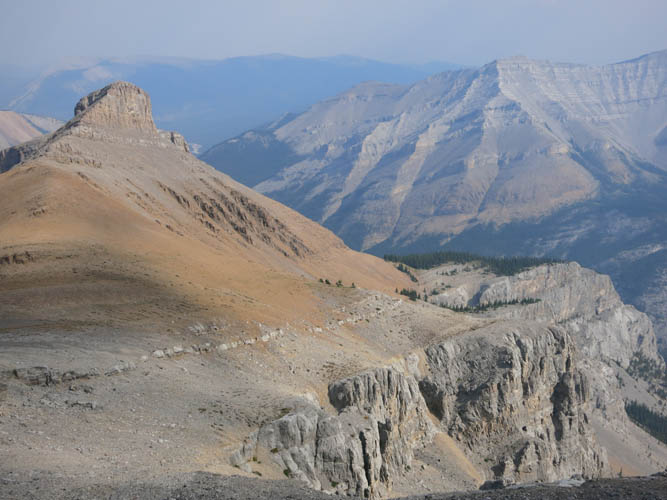
The big scree slope we came up is just below (and to the right of) the few linear patches of trees below the knob.
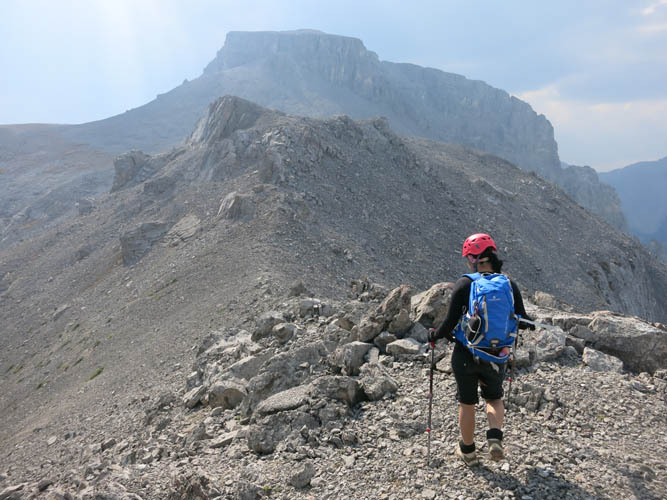
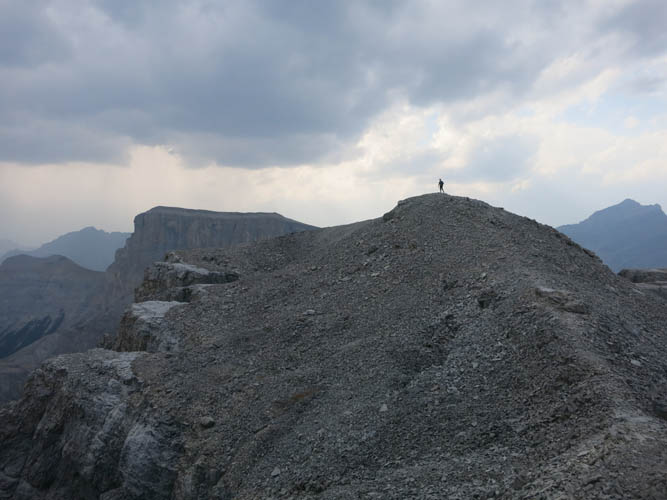
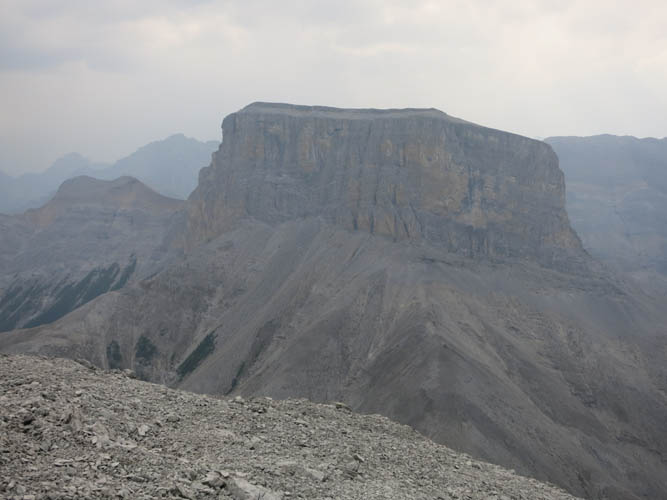
Heading toward the flat-topped summit mass of Mount Remus. The ridge here has a few minor ups and downs and is easy to follow.

Clouds are starting to roll in…
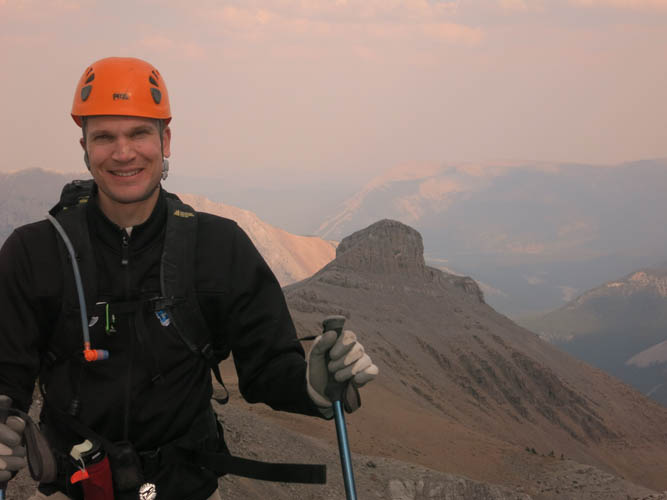
Twilight mood as clouds are darkening the sky. No more need for that excess sunscreen on my nose 🙂
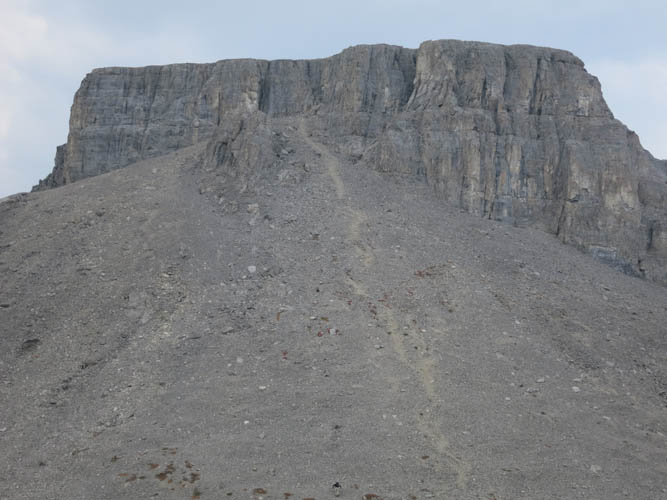
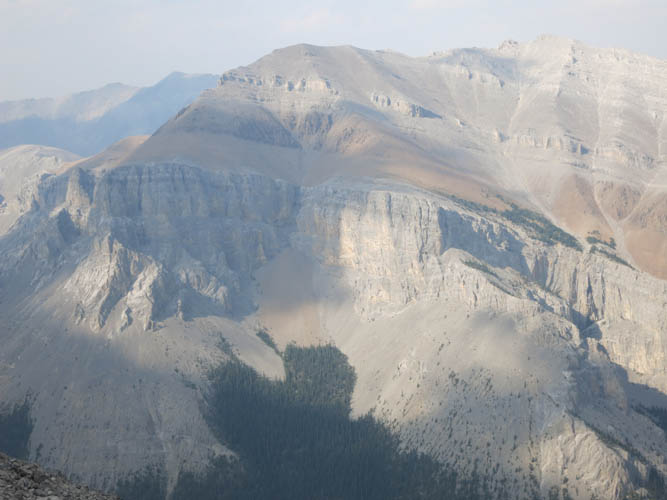
Mount Remus looks like a massive fortress as a lone invader (black dot at bottom centre) attempts to attack.
Mount Fullerton appears to the north.
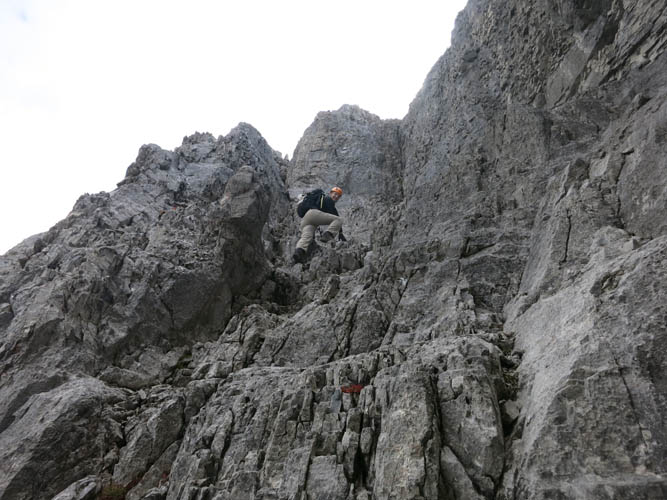
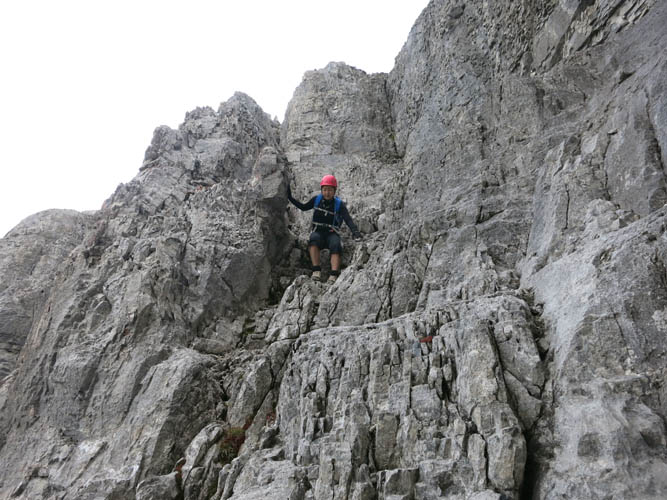
Tackling the weakness leading up the cliff. There is a steep crack to the right of this picture that is probably of difficult grade, whereas this route here is upper moderate (or perhaps lower difficult at the most).
Coming up the weakness to the top of the plateau.
At the summit. Mount Romulus is to the left, another flat-topped mountain in this area.
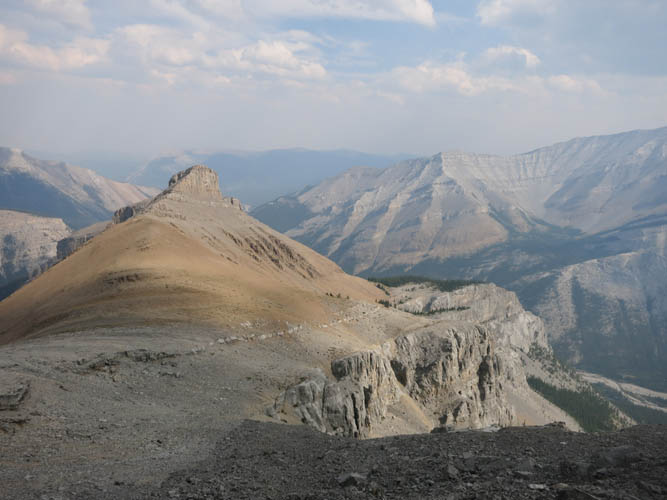
Summit views.
Mount Romulus.
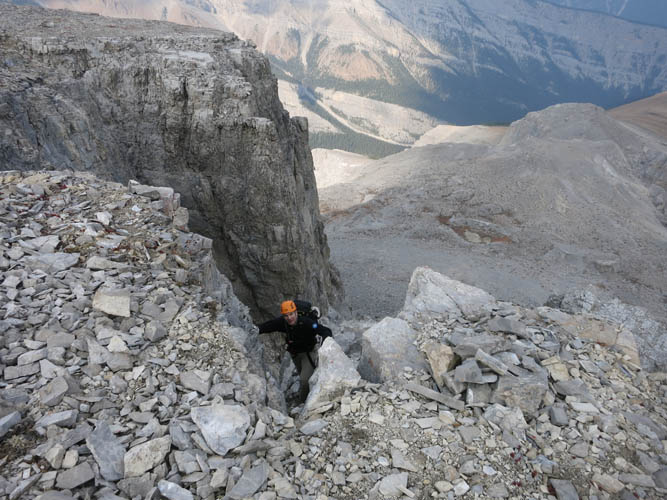
Descending the crux. The solid rock and step-like ledges make going down (or up) fairly straightforward if you don’t mind a bit of exposure.