
27 January 2016
Solo
I wish there were more mountains like this! This little peak is a real treat: it’s short, very enjoyable, without an approach and with absolutely no bushwhacking, despite the absence of a trail. And it’s perfect for the winter as this area seems to enjoy an abnormally high amount of sunshine that, combined with frequent winds, result in very little to no snow cover.
This was my second time to the Ya Ha Tinda area – an unexpected lull at work and a forecast of 9 degree Chinook weather didn’t make me hesitate very long to head out to the mountains again and explore a little more of this beautiful area. Just about 2 months earlier we had hiked up Maze Peak and on this trip I had noticed a smaller peak just to the south of Maze. It was unnamed on maps and I couldn’t find any information on whether there was a route or if it was possible to scramble to the top. It looked fairly easy though, so I decided to go on an exploratory tour.
Armed only with a satellite image and a few pictures taken from Maze Peak, I arrived at the southwestern base of the mountain on the Ya Ha Tinda Road after a swift 2 hour drive from Calgary. From below, it looked like there are a whole number of options for ascending the main ridge. I parked right where the two SW ridges converge near the road and headed up the one closer to me (the more southern one). There is no forest but also no trail and the route basically takes you straight up the grassy ridge scattered with a few dead tree trunks. After 20 minutes or so there was a steep, rubbly section with frustratingly loose scree, that lasted for about 15 minutes and ended in a short downsloping cliff band that was easily overcome along one of several cracks – probably some moderate scrambling here and I don’t think there is a way around that on either side. After that it was just a pleasant hike along a lightly forested ridge that led to a set of three “craggy bumps” just before the summit ridge. Looking left (north), there were some impressive steeply dipping strata forming a slabby wall underneath the summit ridge, complete with several small caves. The three bumps can all be circumvented on the left (north side), but I chose to scramble the second and third one for a more direct route and some challenging (moderate to difficult) scrambling.
The southern high point of the N-S summit ridge sits at 2218 m, some 45 m below the main summit which is just a 20-30 minute walk away. A fairly large cairn greeted me, but there was no register so I placed the one I had brought. (Edit June 2017: I later discovered that Vern Dewit ascended this peak back in 2015, calling it Wildhorse Ridge, which seems to be a fitting name given that there is a Wild Horse Creek at the foot of the mountain to the east). The views were very nice on this day – an ever changing display of light and shadow in the fast moving clouds. Dormer, Barrier, Labyrinth, Minos and Maze were some of the mountains appearing in full splendour.
It was a bit windy, so I didn’t linger and started heading down the more northerly of the two parallel SW ridges. I wasn’t sure at first whether this would work as from a distance there seemed to be a very steep cliff just below the summit. The cliff was indeed there, but it was easily avoided on the right (north) side on steep rubble, with minimal exposure only. The remainder of the descent via a small intermediate bump was easy and straightforward. The gentle slope and beautiful views down into the Red Deer River Valley made it a very enjoyable hike, which was easy on the knees due to a thin layer of soft snow along the upper part of the ridge. There are lots of dead trees here, the result of a forest fire a long time ago, but the deadfall isn’t too bad and doesn’t really present any obstacles. I was back at the car in under 5 hours and I guess if you’re fast and don’t stop for photos/lunch you can probably do the whole thing in 3 hours. A thoroughly enjoyable day out on a neat little mountain – and I did not see a single person or car the entire time I was out there!
For a detailed map of the area, including all existing trails and many possible scramble routes, see the Ya Ha Tinda & Surroundings Trail Map on Avenza (a free mapping app for offline navigation and tracking). The map is also available in print at MapTown or GearTrade.

DISCLAIMER: Use at your own risk for general guidance only! Do not follow this GPX track blindly but use your own judgement in assessing terrain and choosing the safest route.
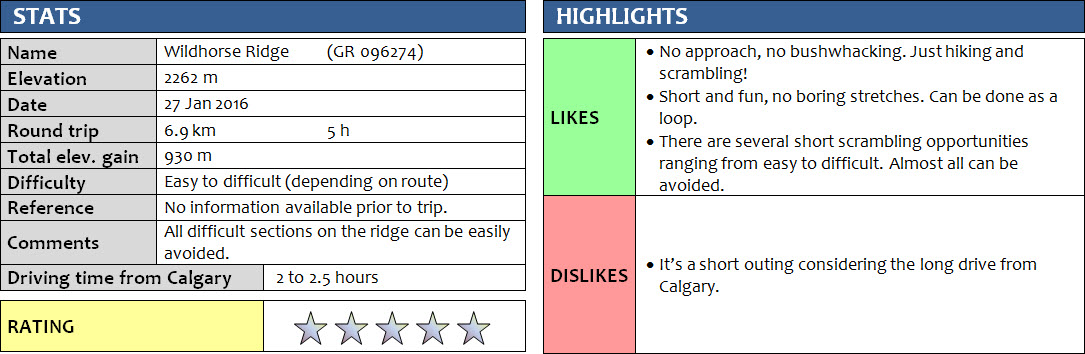
The moon is hovering over Mount Minos early in the morning.
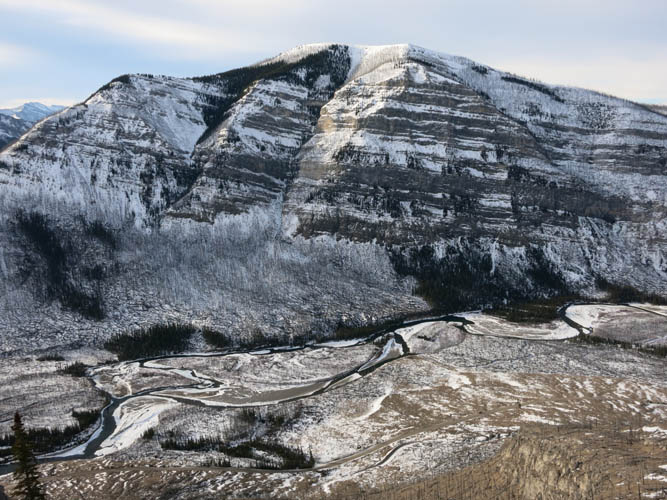
The initial section of the first ridge is the steepest, with interesting fractured rock features.
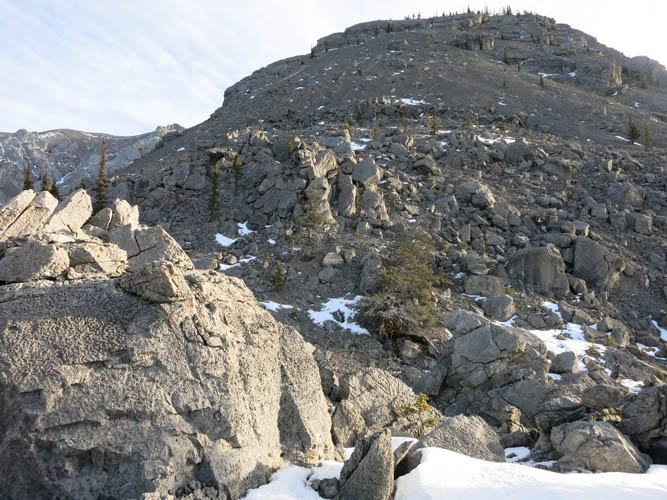
The eastern face of Mount Minos on the other side of the Red Deer River is mostly snow-covered.
A look down the “crux”. There is some moderate scrambling along the crack where the tree is.
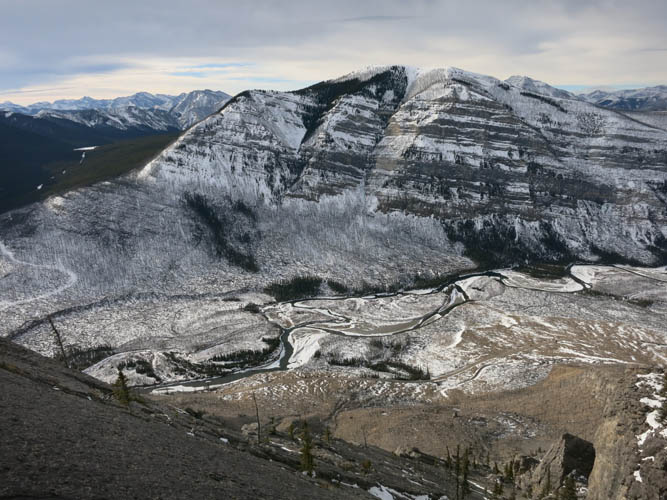
Another view of the river valley and Mount Minos.
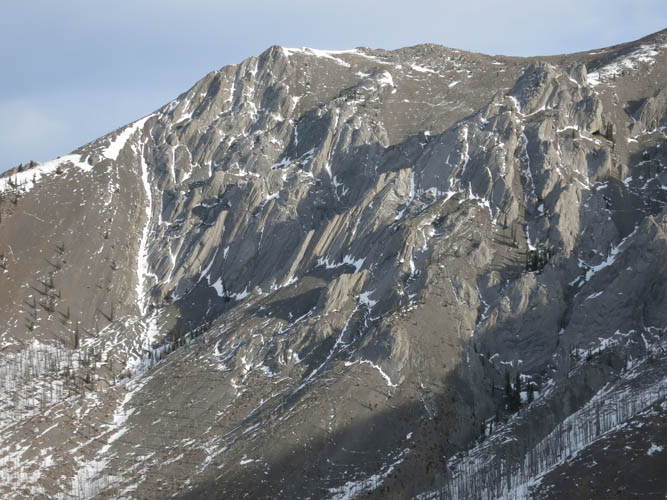
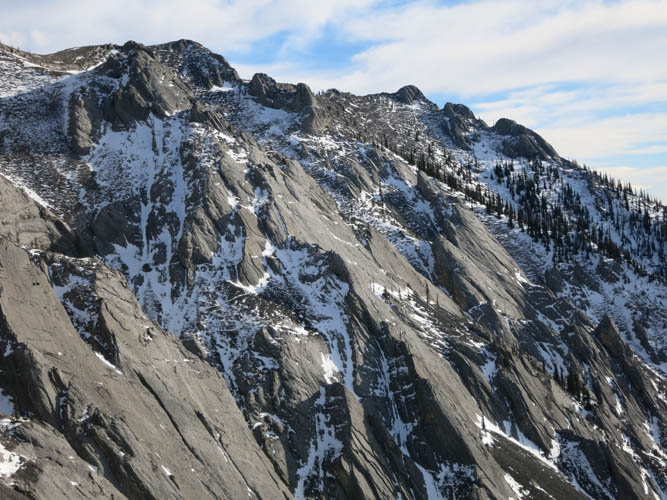
Like an abstract painting: steep, stacked slabs on the west side of the main ridge, as seen on ascent.
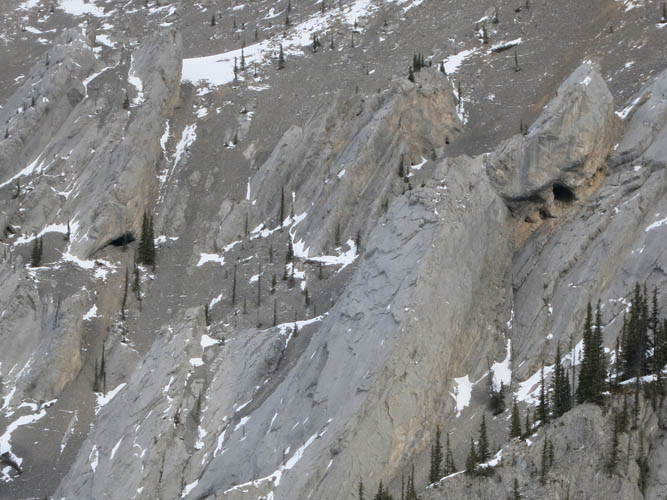
A closer look reveals several caves in the rock. Perfect for hibernating bears or other game.
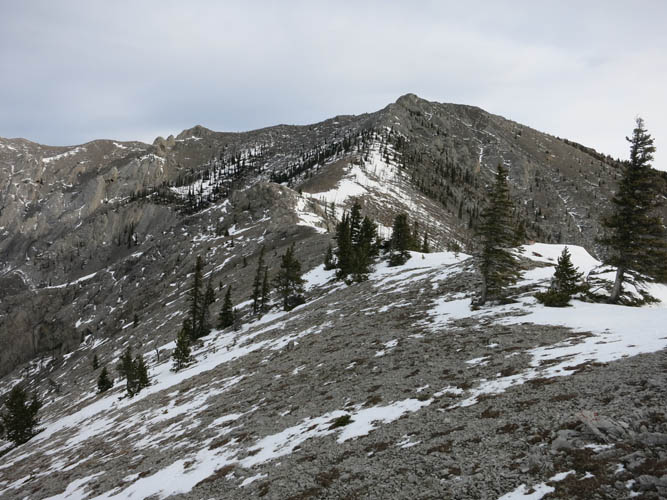
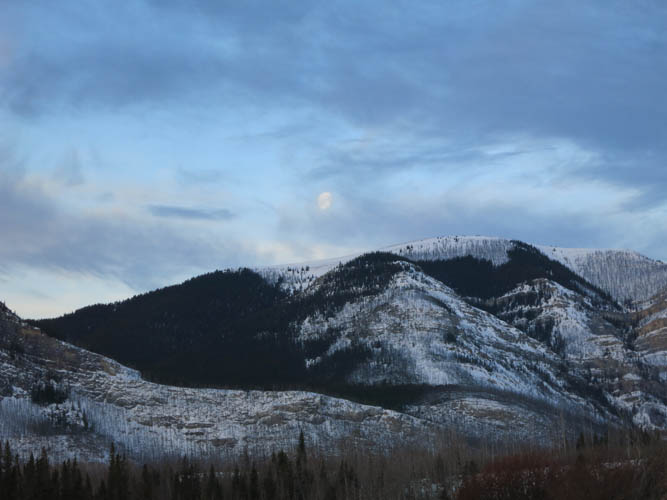
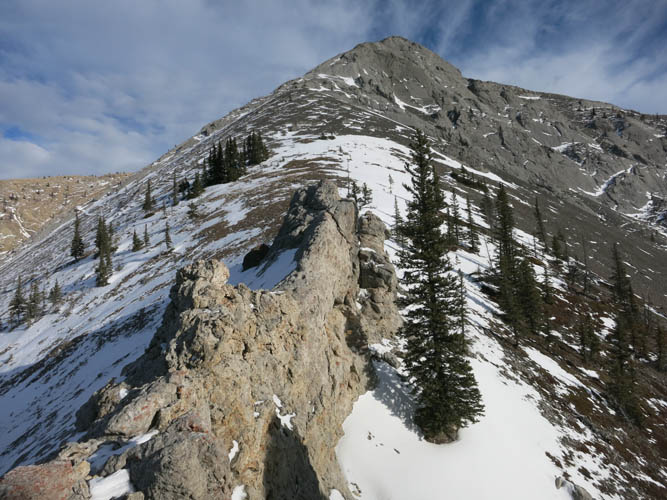
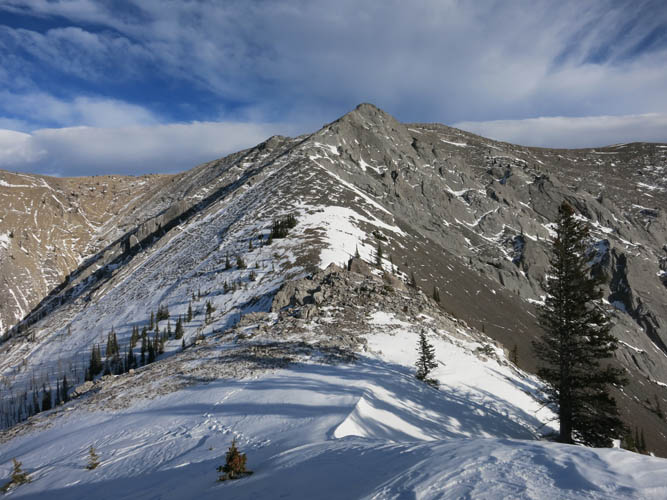
Upper part of the ascent ridge. The first high point is now in sight. Travel is easy here. Just before the high point one can either tackle steep, craggy rock head-on (moderate to difficult scrambling), or easily bypass this section on the left.
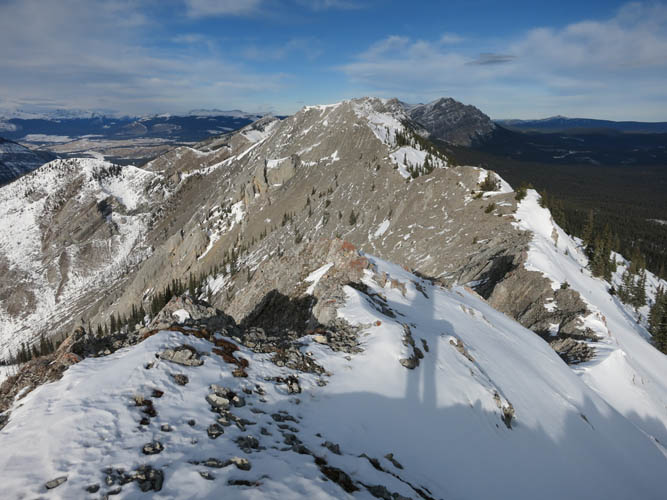
View north of the main ridge from the first high point.
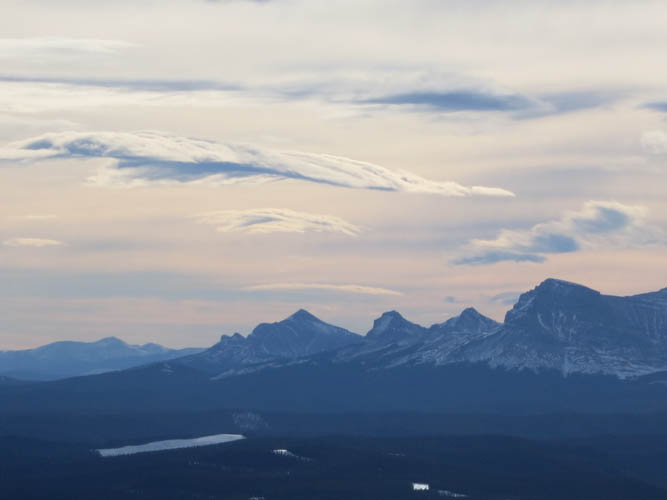
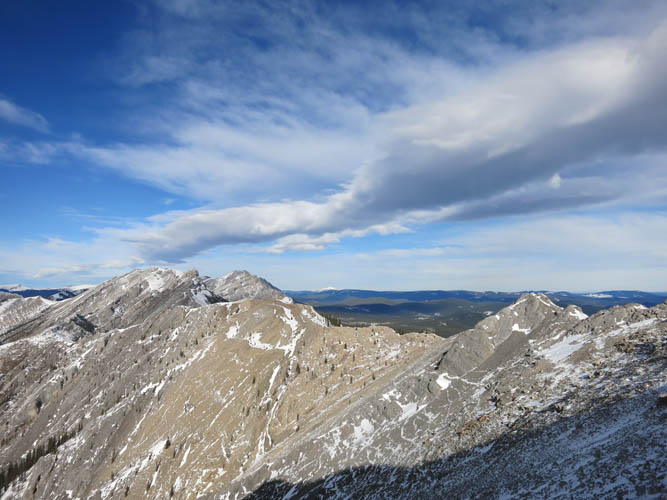
Intriguing cloud formations remind of a feather. These mountains are in the Front Ranges to the south. The four pointy peaks are (L to R): Black Rock Mountain, Sheep’s Claw, Sheep Meadow Mountain, and Ghost Peak.
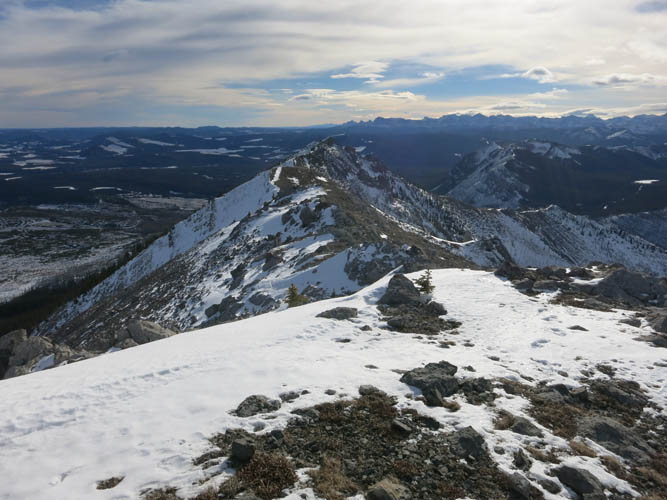
At the summit. The main ridge that I just traversed is about 1 km long.
The ridge continues to the north before dropping off to the left. Maze Peak in the distance.
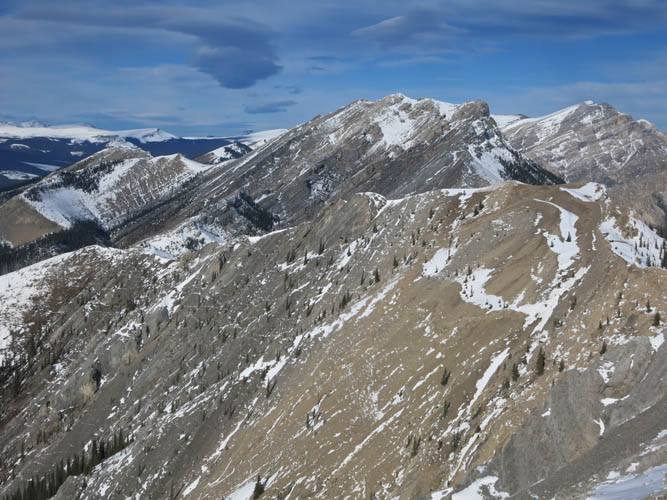
The summit of Maze Peak is just right of centre.

Summit cairn with register.
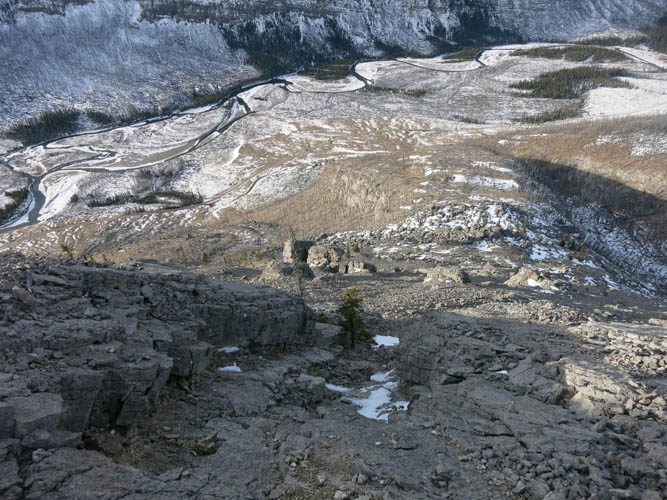
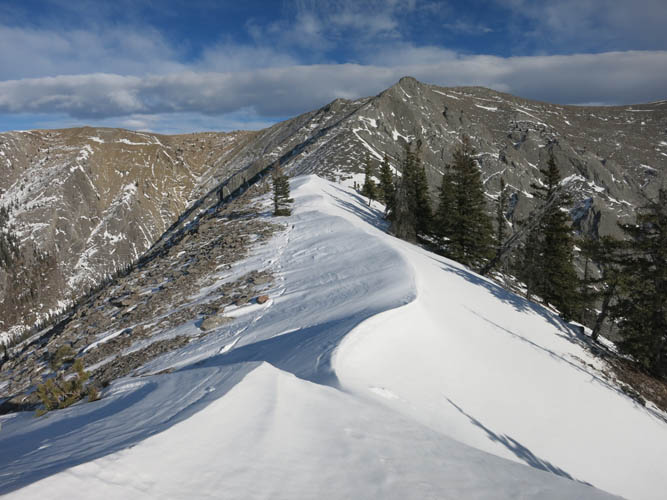
Looking back at the summit. I descended the ridge that parallels the first SW ridge. There are some neat rock ribs here.

The cloud patterns in the sky contrast nicely with the grey rock and white snow.
The steep rock slabs that I first noticed in the morning now show up quite differently from this angle.
Snow covers part of the descent ridge, but it’s mostly hard and easy to walk on.
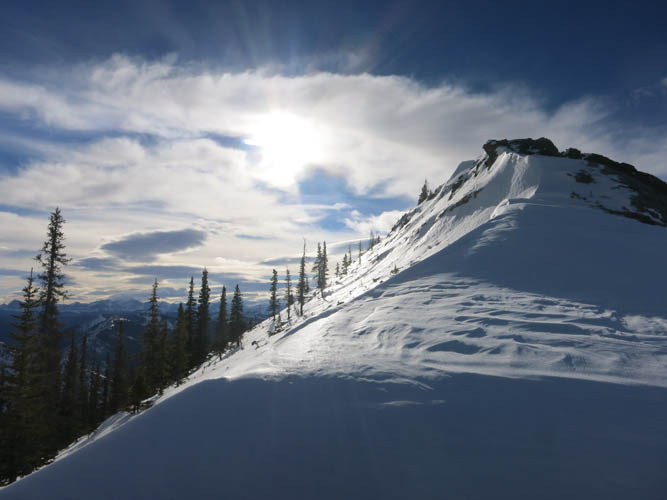
Sun, sky and snow.
Looking back along the ridge to the summit.
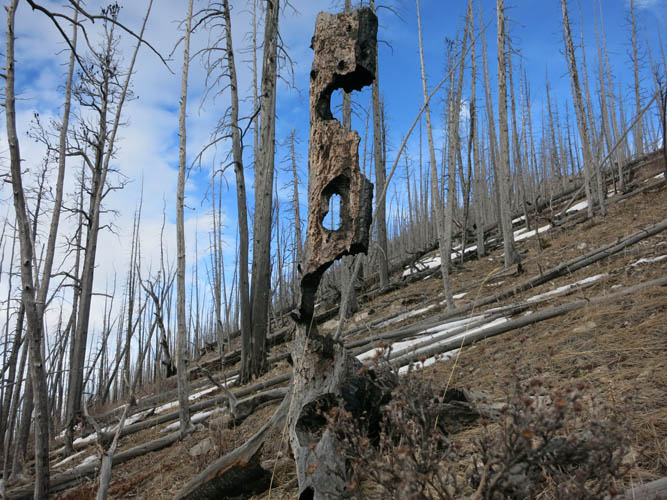
Eerie burn marks in this dead forest make the trees look like skeletons.